
Add a patient
Screenshots show the Dutch interface. Menu names and buttons appear here as they appear on screen, in Dutch.
A new patient gets a file of their own. First name and surname are enough to create it.
Click patient files in the left-hand menu.
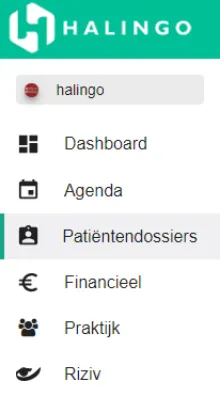
Click the plus icon next to the search bar.

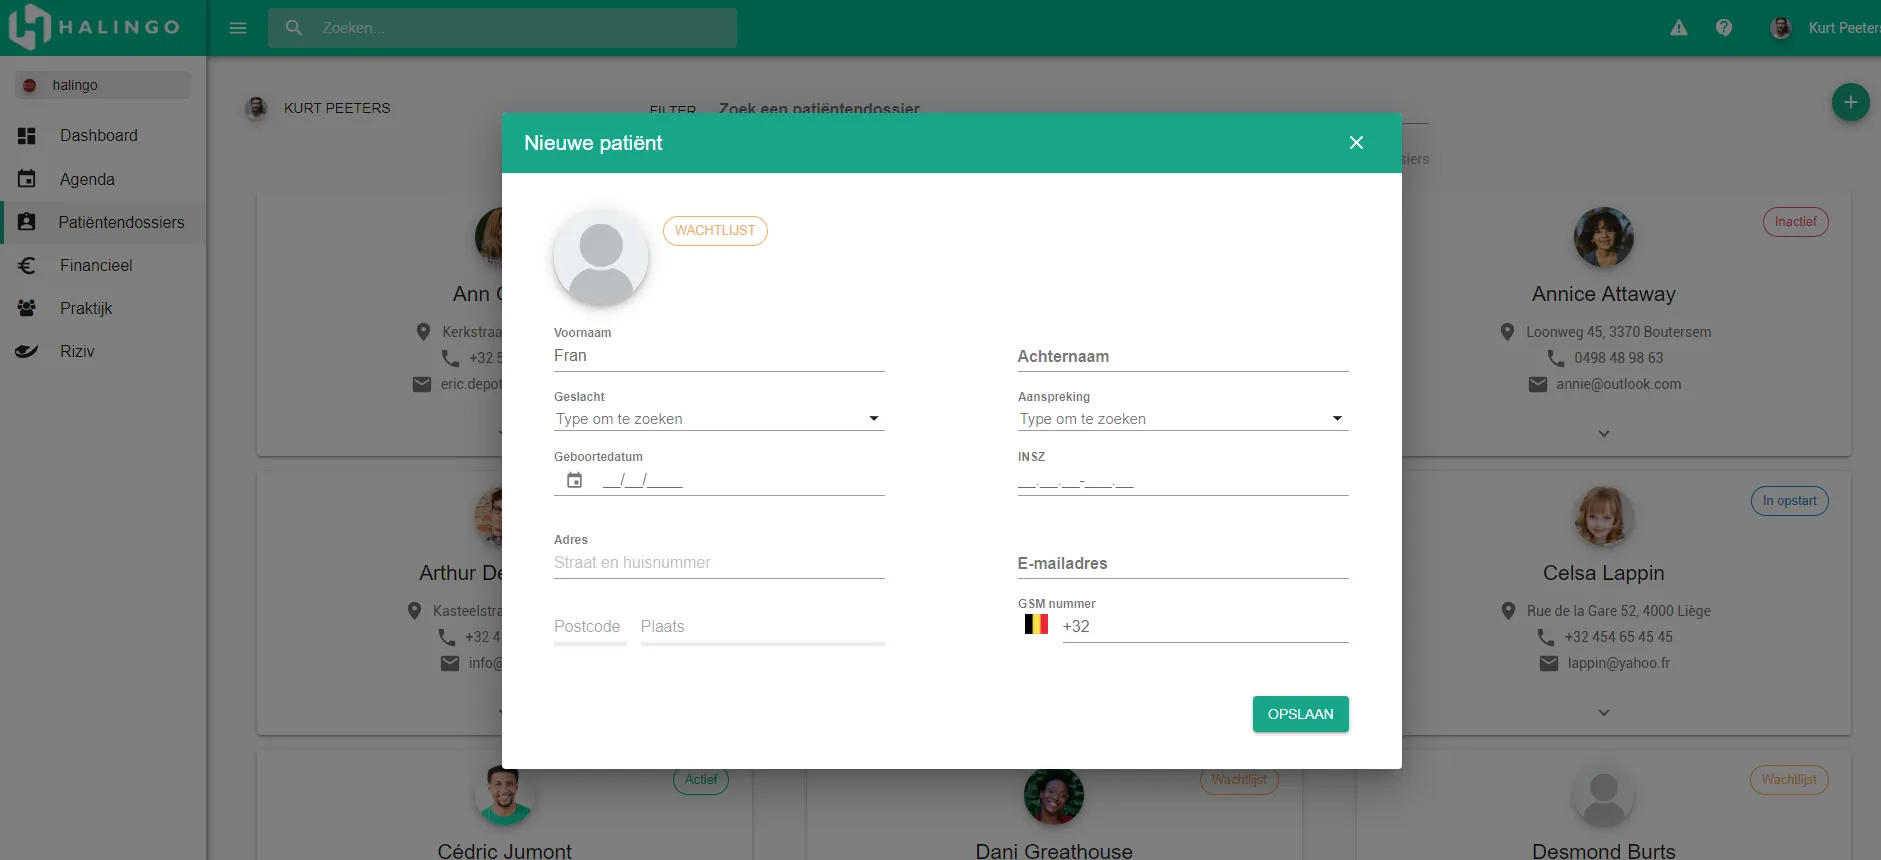
Fill in the patient’s details. First name and surname are required.
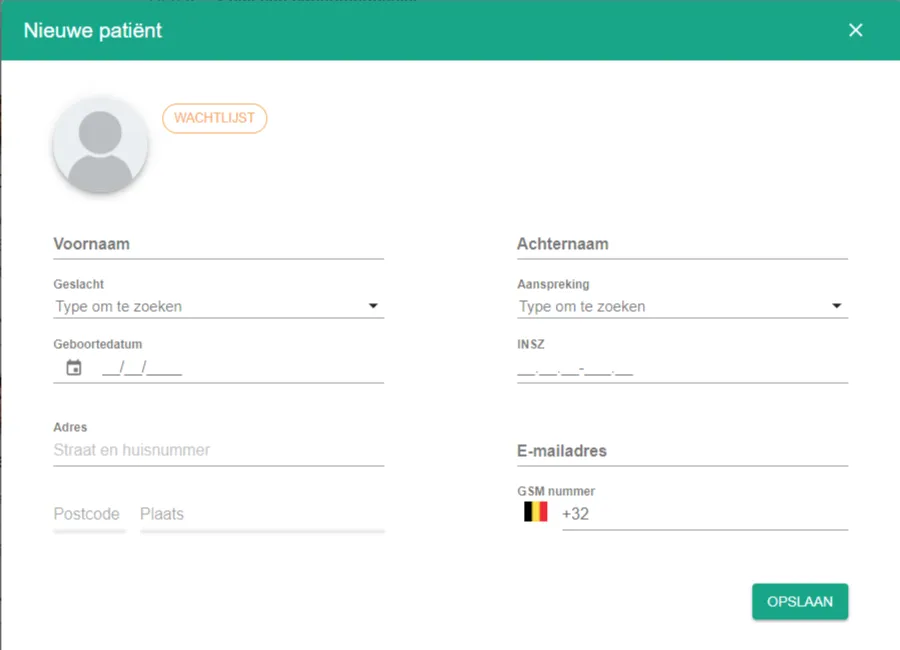
Click the save button.

Tip
You can also create a patient from the agenda, at the moment you schedule a first appointment.
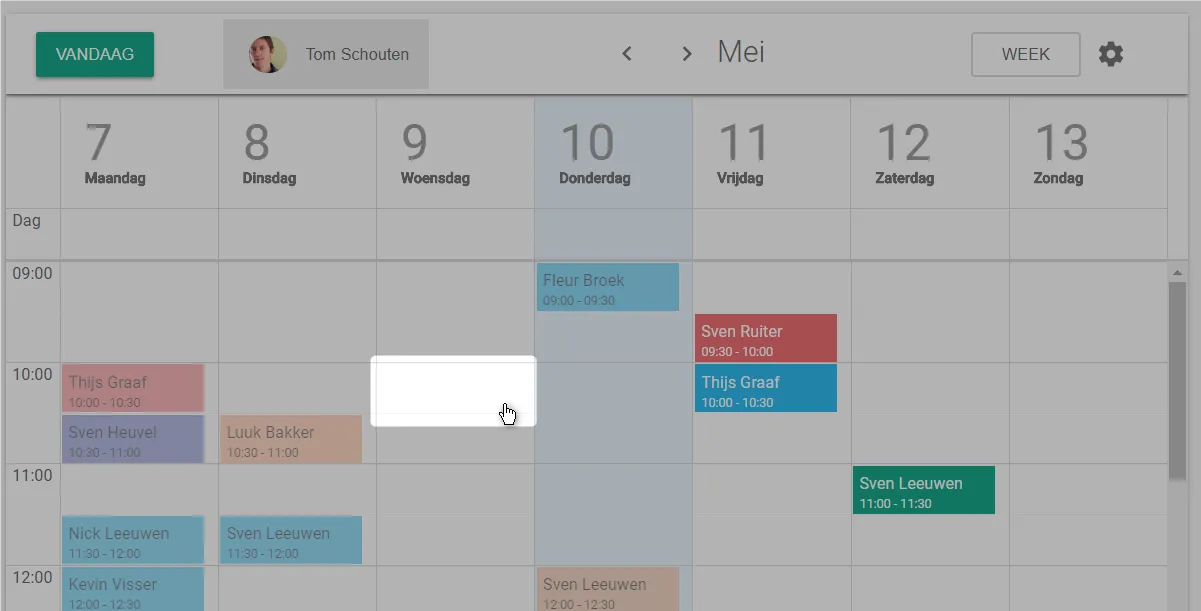
Click the slot in the agenda where you want the appointment.
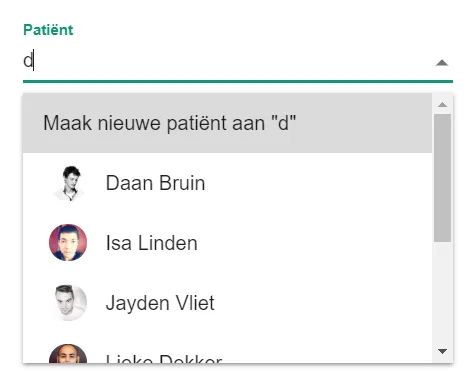
Select the patient field.
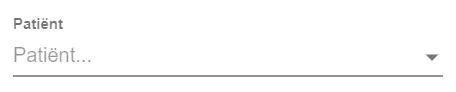
Type the patient’s name.
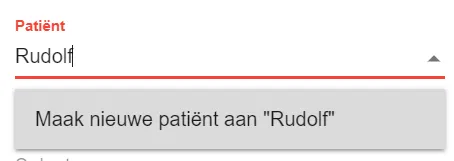
Click Create new patient, followed by the name you typed.
Fill in the fields marked with an asterisk.
Was this article helpful?
One more question?Open a ticket and we will look at it with you.
Open a ticket