
Add a patient photo
Screenshots show the Dutch interface. Menu names and buttons appear here as they appear on screen, in Dutch.
A photo in the file helps you recognise the right patient at a glance. You add it from the file itself.
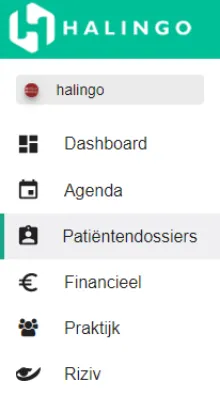
Click patiëntendossiers (patient files) in the left-hand menu.
Click the file of the patient whose photo you want to add or replace.

Click the profielicoon (profile icon).

If a photo is already there, click it to replace it.

Click the upload box.
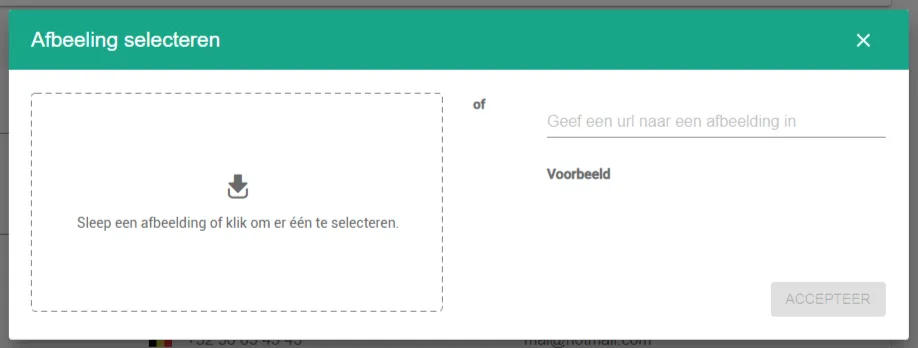
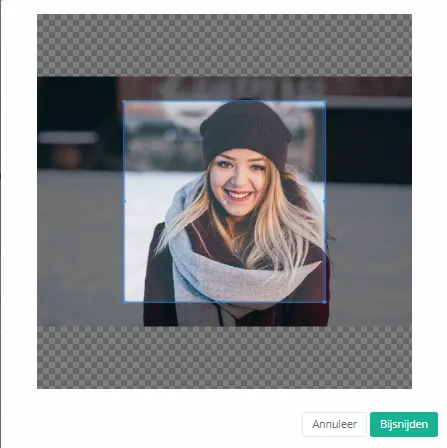
A window opens where you pick the file on your computer. You then crop the photo to fit the frame.
Was this article helpful?
One more question?Open a ticket and we will look at it with you.
Open a ticket