
Printing a certificate of care in Firefox
Screenshots show the Dutch interface. Menu names and buttons appear here as they appear on screen, in Dutch.
Certificates of care are printed on a dot-matrix printer, on pre-printed forms of type I21 (Dutch) or I11 (French). In Belgium this form is the getuigschrift voor verstrekte hulp or attestation de soins, the paper certificate a patient hands to their health insurance fund, issued under the rules of RIZIV/INAMI (the national health insurance institute). You order the forms from Medattest.
Alignment can be adjusted in two places: mechanically on the printer itself (see your printer manual) or in Halingo when you create the certificate. It does not have to be perfect. As long as the data is legible, the health insurance fund and RIZIV/INAMI accept the certificate.
Halingo works best in Google Chrome.
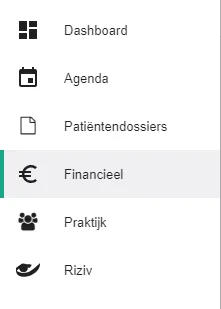
Click Financieel (Financial) in the left-hand menu.
Click the icon
 next to the invoice you want a certificate for.
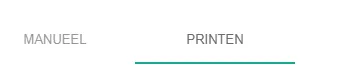
In the certificate window, select the Print tab.
Enter the nummer van het getuigschrift (certificate number). The first time, you type it yourself. After that, Halingo adds 1 for each new certificate. Check the number every time anyway.

Does the patient pay cash? Tick the box. The amount paid is then printed on the receipt.

Are your provider details already pre-printed on the form? Leave Identificatie verstrekker printen (Print provider identification) unticked.

Click Print.

Firefox opens a new window with the print preview.
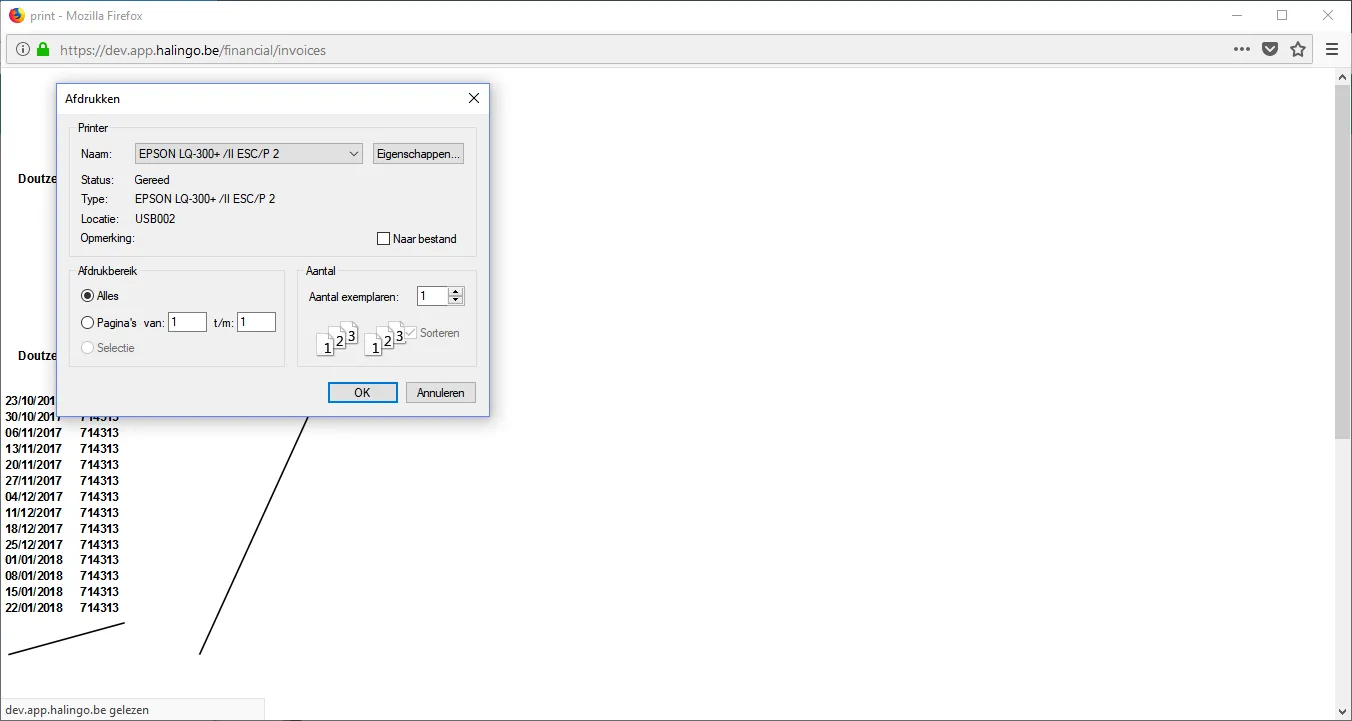
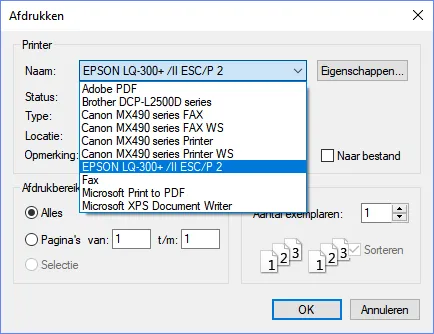
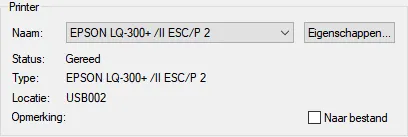
In the Print window, select the dot-matrix printer.
Click Eigenschappen (Properties) next to the name of the selected printer. A new window opens.
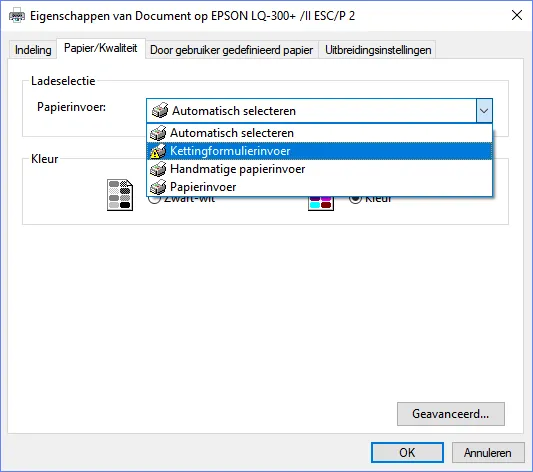
On the Papier/Kwaliteit (Paper/Quality) tab, under Papierinvoer (Paper source), choose Kettingformulierinvoer (Tractor feed).
Click Geavanceerd (Advanced).
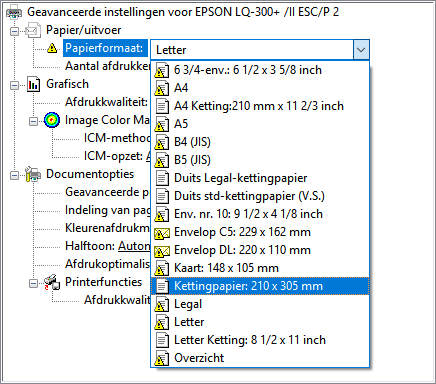
Under Papierformaat (Paper size), choose kettingpapier 210 x 305 mm (continuous paper 210 x 305 mm).
Click OK to confirm the settings.

Click OK again in the previous window.

Click OK to print.

Was this article helpful?